


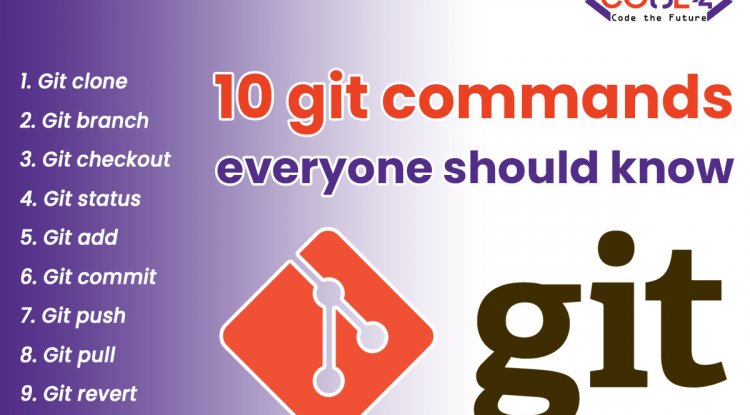
Every Developer should know this 10 Git Commands
Git is widely used in the software industry and is an essential component of daily programming, particularly when working with a team.
Git is widely used in the software industry and is an essential component of daily programming, particularly when working with a team.
Mastering Git takes time because you can use so many different commands. However, some commands are used more frequently (some are used every day). Therefore, the ten most frequently used Git commands that every developer should know will be discussed and shared in this post.
Note: Basic understanding is required for a better understanding of this article.
1. Git clone
The Git clone command is used to download existing source code from a remote repository (such as Github).To put it another way, Git clone basically copies the most recent version of a project from a repository to your computer and saves it as an identical copy.
There are a few different ways to download the source code, but I generally prefer the https-enabled clone:
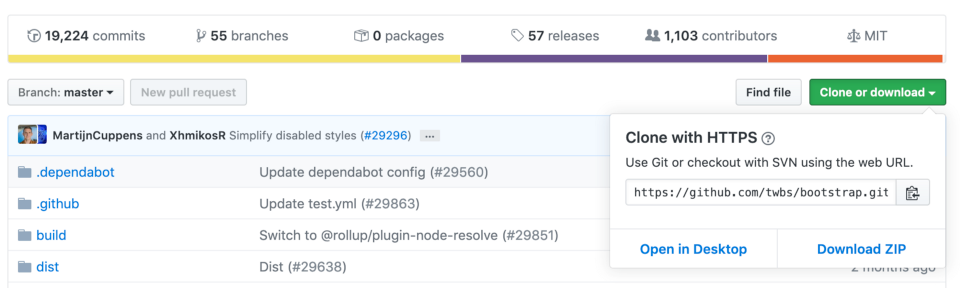
git clone <https://name-of-the-repository-link>For instance, if we want to download a GitHub project, all we have to do is click the green button labeled "download" or "clone," copy the URL in the box that appears, and then paste it after the "git clone" command that I just demonstrated.
You will be able to begin working with the project after this copies it to your local workspace.
2. Git branch
In the world of git, branches are crucial. Multiple developers can simultaneously work on the same project by using branches. The git branch command can be used to create, list, and delete branches.
To Create a new branch on git:
git branch A local branch will be created by this command.You must use the following command to push the new branch into the remote repository:
git push -u To View branches in git:
git branch or git branch --listTo Delete a branch in git:
git branch -d 3. Git checkout
Additionally, this is a frequently used Git command. You must first switch to a branch before you can work there. Most of the time, we use git checkout to switch branches. We can also use it to check commits and files.
git checkout To successfully switch between branches, you must follow these steps:
- Before you switch, the changes in your current branch must be committed or stored.
- The branch should exist in your local system before you check out or commit
Additionally, there is a shortcut command that enables simultaneous branch creation and switches:
git checkout -b This command immediately checks the newly created branch out to new and creates a new branch in your local (-b stands for branch).
4. Git status
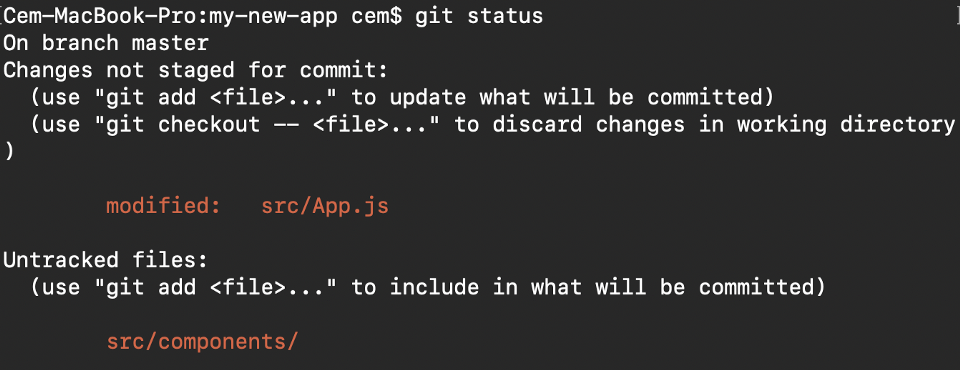
We can get all the information we need about the current branch using the Git status command.
git statusWe are able to gather data such as:
- Whether the current branch we are working in, is up to date
- Whether there is any new thing to commit, push or pull
- Whether files are staged, unstaged or untracked
- Whether the files are created, modified, or deleted
5. Git add
Any changes made to a file like create, modify or delete will be saved locally and won't be included in the next commit (unless we change the configurations).
To incorporate the modifications to a file or files into our subsequent commit, we must use the git add command.
To add a single file:
git add To add everything at once:
git add -AIf you look at the screenshot in the fourth section above, you'll notice that some of the file names are red, indicating that they have not been staged. Your commits won't include the unstaged files.
We need to use git add to include them:
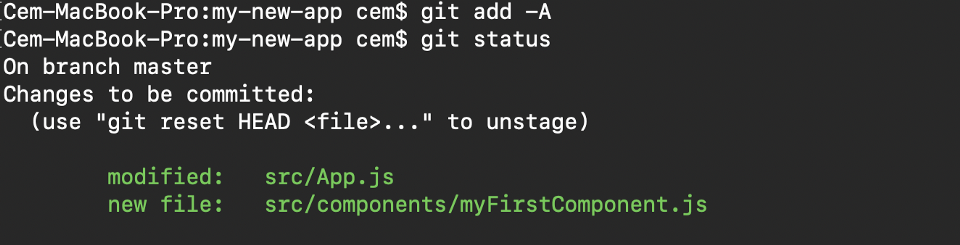
Important: The git add command doesn't change the reository and the progressions or updates are not saved until we use git commit.
6. Git commit
This might be Git's most frequently used command. We want to save our changes once we reach a certain point in the development (perhaps after a particular task or issue).
A checkpoint in the development process that you can return to at any time is what a Git commit is like.
Additionally, we are required to write a brief message in which we describe the source code modifications or developments.
git commit -m "commit message"Important: Git commit saves your changes in the local system only.
7. Git push
Sending your changes to the remote server repository is the next thing you should do after committing them. Git push transfers your local codes and changes to the remote repository (GitHub).
git push However, you must upload the branch using the following command if your branch was just created:
git push --set-upstream or
git push -u origin Important: Git push only uploads changes that are committed recently in your local repo.
8. Git pull
In order to obtain updates from the remote repo, the git pull command is used. This command is a combination of git fetch and git merge, which means that when we use git pull, it immediately applies the most recent changes to your local repository (git merge) after receiving updates from a remote repository (git fetch).
git pull Note: This operation may cause conflicts that you need to solve manually.
9. Git revert
Changes that we have made sometimes need to be reversed. Depending on our requirements, we can undo our changes locally or remotely, but careful use of these commands is required to avoid unwanted deletions.
Using git revert, we can undo our commits in a safer way.We must first use git log -- oneline in order to view our commit history:

After that, all that is required of us is to specify the hash code next to our commit that we wish to undo:
git revert 3321844Then, you will have a screen like below - just press shift + q to exit:
The Git revert command will undo the specified commit, but it will not delete the previous commit:

The fact that git revert does not alter the commit history is a benefit. This indicates that you can still view all commits in your history, including those that have been reverted.
Everything happens in our local system unless we push them to the remote repo, which is another safety precaution. To undo our commits, we prefer to use git revert because it is safer to use.
10. Git merge
Merging the branch with the parent branch (dev or master) is the final step once development in your branch is finished and everything works as expected. The git merge command is used to accomplish this.
Your feature branch and all of its commits are basically merged into the dev (or master) branch using Git merge. It is essential to keep in mind that you must first be on the branch you wish to merge with your feature branch.
When you want to merge your feature branch with the dev branch, for instance:
First you should switch to the dev branch:
git checkout devYou should update your local dev branch before merging:
git fetchFinally, you can merge your dev branch with your feature branch:
git merge Hint: Before merging your branches, ensure that your dev branch has the most recent version; failing to do so, you run the risk of encountering conflicts or other unwelcome issues.
Therefore, in my day-to-day programming, these are my ten most frequently used git commands.I'll go over a lot more things you need to know about Git in subsequent articles.
Thank you so much for reading !
What's Your Reaction?
 Like
0
Like
0
 Dislike
0
Dislike
0
 Love
0
Love
0
 Funny
0
Funny
0
 Angry
0
Angry
0
 Sad
0
Sad
0
 Wow
0
Wow
0